When it comes to home decoration, there’s nothing as beautiful as an unusually decorated wall that gets your attention.
Many of us secretly want to have a textured wall in our interiors, but due to lack of funds or techniques, we simply never decided on this venture.
Professional painting décor jobs involve sometimes a high price, however, if you are willing to invest just a little extra time and effort, we have prepared a few simple tips and ideas for independent painting and wall decoration that will surely impress your guests next time.

After all, it’s pretty painless and relatively cheap, and if something goes terribly wrong, it’s super easy to fix.
How to choose a tone of paint for walls?
When it comes to decorating the interior of your home, the basic elements, in addition to furniture and some additional details, will be the color of the walls.
There are three types of color schemes:
Warm colors are red, orange, yellow and their combinations, all of which are bright shades that are ideal for a wall.
Green, purple and blue are cool colors and can make a room of small size seem much larger. Muted colors are most often the most popular shades for shaking walls, and the room will also seem larger.
While choosing shades of paint for the walls, ensure that the tone matches the furniture in different rooms. In case you can’t decide, you can get help in the interior coloring mobile app.
After deciding on the paints of the walls, you need to think about the type of wall coating you want to use. Different types of colors will provide a different feel, texture and finish.
Different types of wall coating
- Paint with a flat finish: These colors will not shine and reflect light, plus they are easy to maintain. However, they are not durable or perky.
- Great: This will be the brightest color, but extremely durable.
- Matt: This will have a bit of shine compared to a flat finish with some similarities, but it will be semi-washable.
- Satin: It has a glossy surface that will perfectly reflect the light in the room. Walls painted with this paint will be durable and washable. They give the walls a soft shine, so as a result they are not suitable for walls with defects.

In case you are interested in how to prepare a jupol for whitewashing, you can do it like this:
Example: Large bucket of 25L
Otherwise, the classic Jupol for interiors is glossless, and is not resistant to washing. It is ideal for surfaces that are not exposed to soiling. When using jupol toning pigments, count on them to lighten up to 50% when drying, and is good for achieving pastel shades.
In case you use Jupol Gold for interior walls, they are resistant to washing and create a high gloss. Also, it is enough to add only 2 dl of water to the entire bucket during preparation.
Proper technique of painting the walls
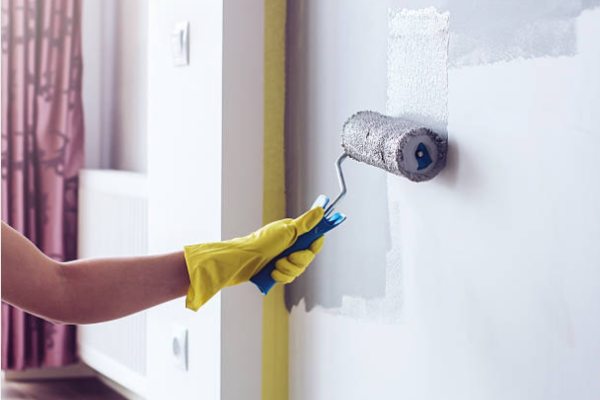
In order to paint the walls of your living room or kitchen properly and neatly, it is important to have a good whitewash technique. In fact, just a little organization during the process will make your painting light and fun.
The technique of whitewashing should look like this:

10 Tips on How to Paint Walls Professionally
Before you grab the roller and get started, it’s important to have an attack plan.
Read on to learn how to paint a room and look at the steps you need to follow to achieve the success of your project.
1. Organize and plan your approach
Start by thinking about what you want the finished pro to look likeject and remember that you are not limited to four walls in the same color.
Consider painting the prominent walls in a stronger shade or highlighting the slats in a contrasting shade. And don’t forget to look at whether the ceiling needs to be refreshed as well.
2. Choose a shade of color
Browsing the tone of the map can be overwhelming. Start by finding general color characteristics: Do you want a warm or cold shade? Neutral or saturated shade?
If you have existing furniture or art, you’ll also want to consider what shade matches them. Once you have decided what you want, choose a few shades and make patterns.
Test patterns of your colors in the room to see what they look like in different lighting conditions at different times of the day.
There are also mobile apps or websites that have tools that allow you to upload a photo of your space and view different colors on the walls. But the colors can look different in real conditions, so you’ll have to try them out in reality as well.
3. Determine the amount of color
To determine how much paint you need, you need to calculate the square area of the walls. The average consumption of wall paint is about 1 liter for about 4 m2.
Also, count that you need to put two layers on some surfaces if and if there is a need.

4. Choose your tools and materials
Each project is unique and you may need different tools, depending on the color you choose and the condition of the walls.
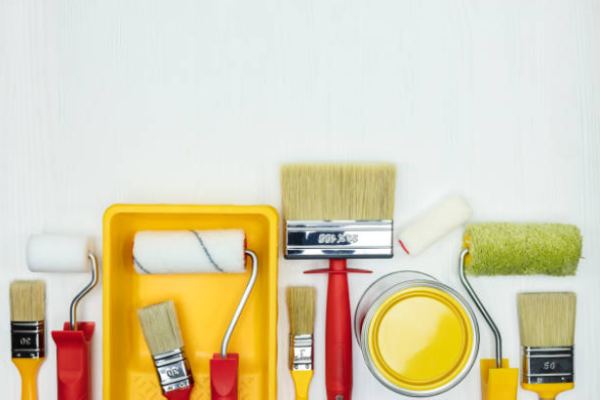
The basic tools for painting and wall decoration include:
- Dye
- Paint roller
- Brushes and brushes
- A few empty buckets
- Extension telescope for roller
- Old sheets for covering
- Emery
- Wipe cloths
- Spaghetti for smoothing
Painting interior walls is the easiest way to refresh your living space. Interior coloring is by far the most popular activity of home decoration itself and it is easy to understand why.
There is no better, more affordable way to refresh rooms than with a new coating of paint.
In addition, whitewashing is not terribly difficult and does not require special training. Any capable homeowner can paint a room – all you need is a little patience and practice.
5. Prepare the surface of the wall
Successful painting work begins with the proper preparation of the surface you will paint. This means that you need to knock, glue and fill each hole, crack, recess and imperfection of the surface.
This isn’t the fun part of the painting, but the most important part is. No paint, regardless of price, brand, thickness or manufacturer’s claim, will hide a cracked and rough surface by whitewashing.
6. Apply an emulsion or primer before painting
Impregnating walls and ceilings is mandatory whenever you paint, and it serves three main functions:
- Firstly blocks stains and yellowing.
- Secondly, allows you to cover the paint with one layer.
- Third, and most importantly, improves the adhesion of the paint, which significantly reduces bubbles and peeling.
Professional painters often mix emulsion with a little paint for the primer. This trick greatly increases the ability of the finishing coating to completely hide the base surface.
Nothing covers better or improves adhesion as much as a dedicated primer.
7. Use old protection sheets instead of nylon
Cotton old sheets provide an inexpensive way to protect the floor and furniture from splashing paint.
The canvas is extremely durable and tear-resistant. It lies flat and poses much less danger than slipping and blowing it up. The canvas absorbs droplets of paint, unlike nylon, which becomes slippery when sprayed with paint.
Sheets can be easily folded around the corners and neck, which is impossible to do with nylon.
In addition, most of the nylon from the protection needs to be thrown away after use. Old sheets can take years.
8. Get an extension rod (telescope)
Forget the seuters and get yourself a telescopic extension rod for the roller.
Extension rods come in various lengths, but the one that extends from 1 to 2 meters is good enough for painting rooms with ceilings up to 3 meters high.

9. Use a roller grid instead of a crucible
Using a paint tub is a futile and messy suggestion.
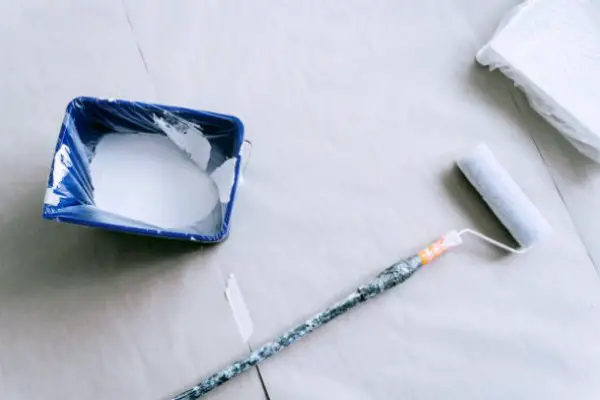
Here’s a faster, neater, better approach: Roll the paint directly from the yupola bucket using the grid. The grille is simply a rectangular, rigid metal or plastic screen that Attach it to the bucket rim.
Fill the bucket about half way with paint, then hang the grid inside the bucket. Dip the roller cartridge gradually spinning into paint and drain it on the grid to remove excess paint. It’s as simple as that. At the end of the day, lower the grate into the bucket and put the lid on.
10. Tool storage overnight
If you paint today but have more work to do for tomorrow, you don’t have to go through the arduous process of cleaning brushes and rollers.
Instead, simply wrap them tightly in food plastic wrap.
If necessary, double the plastic to seal any air, then put the roller brushes and roller sleeves in the refrigerator to keep them fresh.
It may sound crazy, but it works – it will prevent the paint from drying overnight. The next day, simply remove the foil before painting and it will be ready for use.
Properly wrapped brushes and rollers can be stored in this way for several days if you are engaged in a larger business.